Table Of Contents
What is Word Cloud in Excel?
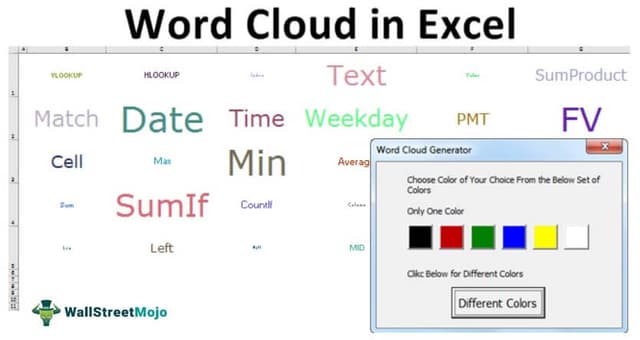
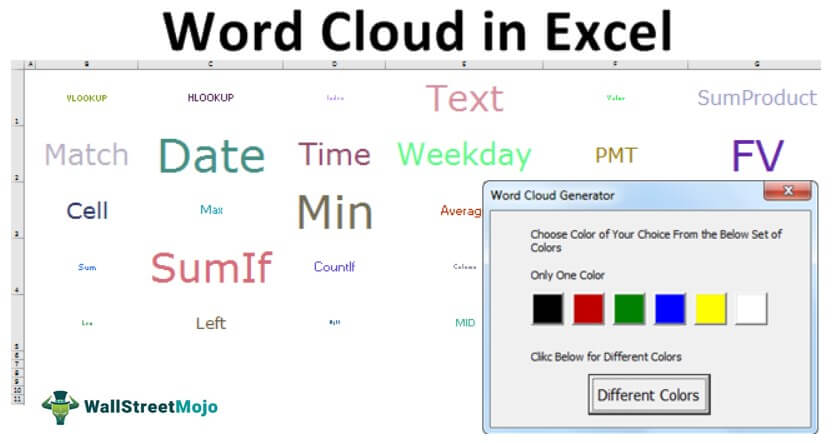
Word cloud is the collection of words to show in the form of visualization in Excel. We hope you have seen some of Excel's best dashboards with numbers and creative visualizations. Dashboards range from classy fonts with attractive colors to some awesome stuff with them. You must have seen one of the peculiar dashboards with "Word Cloud." It looks like a sophisticated software downloaded image, but it is not downloaded from anywhere but rather created with Excel VBA coding. Yes! You are correct. It has been created by VBA coding. This article will show you how to create such a word cloud with Excel.
How to Create a Word Cloud in Excel?
To create a word cloud in Excel, we need to have data of words and what are the colors we need for those words. Assume you are creating a word cloud of 30 Excel formulas. So, make a list of 30 Excel formulas in the worksheet.
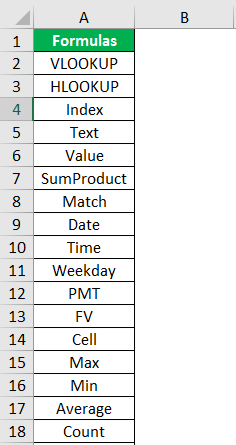
Write the above formulas to your worksheet in the first column.
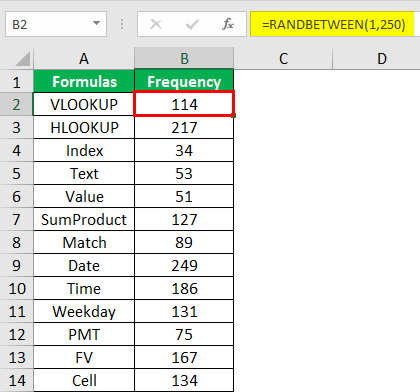
Once you write the above formula names in column B, apply the RANDBETWEEN function for all the 30. Formulas are as follows: keep the bottom value 1 and the top value 250.
Once the data is ready, we need to head to the Visual Basic Editor. First, create a user form like the one below in VBA.
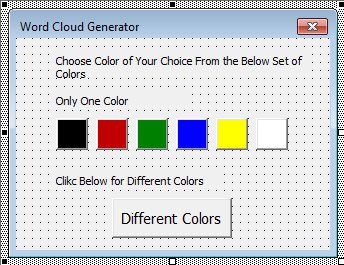
Now, we need to configure the userform in VBA here. For each button, we need to write code. Below is the code for each button.
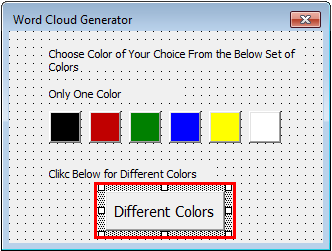
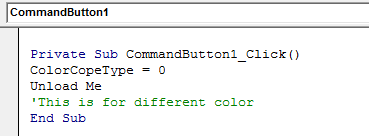
Double click on the "Different Colors" button from the above user form and add the below code.
Code:
Private Sub CommandButton1_Click()
ColorCopeType = 0
Unload Me
'This is for a different color
End Sub
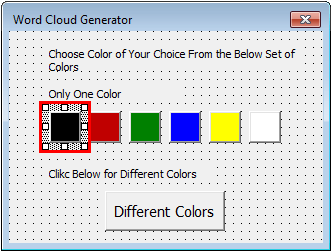
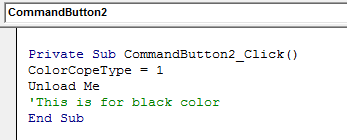
Then, double click on the black-colored button and add the below code.
Code:
Private Sub CommandButton2_Click()
ColorCopeType = 1
Unload Me
'This is for black color
End Sub
Similarly, for all the other buttons, add the below codes.
Code:
Private Sub CommandButton3_Click()
ColorCopeType = 2
Unload Me
'This is for red color
End Sub

Private Sub CommandButton4_Click()
ColorCopeType = 3
Unload Me
'This is for green color
End Sub

Private Sub CommandButton5_Click()
ColorCopeType = 4
Unload Me
'This is for blue color
End Sub

Private Sub CommandButton6_Click()
ColorCopeType = 5
Unload Me
'This is for yellow color
End Sub

Private Sub CommandButton7_Click()
ColorCopeType = 6
Unload Me
'This is for white color
End Sub
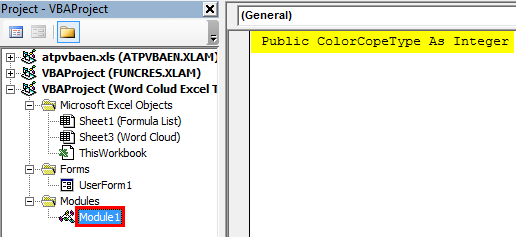
Once we configure the code, we must declare the module's variable on top.
Now, we need to write a code to create a word cloud, which is lengthy. Below is the code.
Code:
Sub word_cloud()

Dim WordCloud As Range
Dim x As Integer, y As Integer
Dim ColumnA As Range, ColumnB As Range
Dim WordCount As Integer
Dim ColumCount As Integer, RowCount As Integer
Dim WordColumn As Integer, WordRow As Integer
Dim plotarea As Range, c As Range, d As Range, e As Range, f As Range, g As Range
Dim z As Integer, w As Integer
Dim plotareah1 As Range, plotareah2 As Range, dummy As Range
Dim q As Integer, v As Integer
Dim RedColor As Integer, GreenColor As Integer, BlueColor As Integer

UserForm1.Show

WordCount = -1

Set WordCloud = Sheets("Word Cloud").Range("B2:H7")
ColumnCount = WordCloud.Columns.Count
RowCount = WordCloud.Rows.Count

For Each ColumnA In Sheets("Formula List").Range("A:A")
If ColumnA.Value = "" Then
Exit For
Else
WordCount = WordCount + 1
End If
Next ColumnA

Select Case WordCount
Case WordCount = 0 To 20
WordColumn = WordCount / 5
Case WordCount = 21 To 40
WordColumn = WordCount / 6
Case WordCount = 41 To 40
WordColumn = WordCount / 8
Case WordCount = 80 To 9999
WordColumn = WordCount / 10
End Select

WordRow = WordCount / WordColumn

x = 1

Set c = Sheets("Word Cloud").Range("A1").Offset((RowCount / 2 - WordRow / 2), (ColumnCount / 2 - WordColumn / 2))
Set d = Sheets("Word Cloud").Range("A1").Offset((RowCount / 2 + WordRow / 2), (ColumnCount / 2 + WordColumn / 2))
Set plotarea = Sheets("Word Cloud").Range(Sheets("Word Cloud").Cells(c.Row, c.Column), Sheets("Word Cloud").Cells(d.Row, d.Column))

For Each e In plotarea
e.Value = Sheets("Formula List").Range("A1").Offset(x, 0).Value
e.Font.Size = 8 + Sheets("Formula List").Range("A1").Offset(x, 0).Offset(0, 1).Value / 4

Select Case ColorCopeType
Case 0
RedColor = (255 * Rnd) + 1
GreenColor = (255 * Rnd) + 1
BlueColor = (255 * Rnd) + 1
Case 1
RedColor = 0
GreenColor = 0
BlueColor = 0
Case 2
RedColor = 255
GreenColor = 0
BlueColor = 0
Case 3
RedColor = 0
GreenColor = 255
BlueColor = 0
Case 4
RedColor = 0
GreenColor = 0
BlueColor = 255
Case 5
RedColor = 255
GreenColor = 255
BlueColor = 100
Case 6
RedColor = 255
GreenColor = 255
BlueColor = 255
End Select

e.Font.Color = RGB(RedColor, GreenColor, BlueColor)
e.HorizontalAlignment = xlCenter
e.VerticalAlignment = xlCenter

x = x + 1
If e.Value = "" Then
Exit For
End If
Next e
plotarea.Columns.AutoFit

End Sub
Copy and paste the above code to your module. For example, the worksheet with a formula list should be named "Formula List." Then insert a new worksheet in excel and named it “Word Cloud.”
In the newly inserted sheet, adjust the zoom to 40% and adjust the row height to 85.
So, now execute the code in VBA by pressing the F5 button. You will see the color-choosing user form.
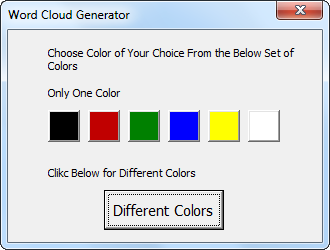
Choose the color as per your wish. If you do not want a single color, choose "Different Colors." Then, we will get the word cloud in the "Word Cloud" sheet.

Like this, using VBA coding, we can create a word cloud.
