Table Of Contents
Excel VBA Workbooks.Open Method
VBA Workbooks.Open method one may use to open an Excel workbook from another workbook.
As far as VBA is concerned, we hope you have seen the magic and wonders VBA can do at your workplace. An important thing about VBA is that it does not limit its work to the same workbook. Rather, we can access the workbook which is already not opened. One such technique can open another workbook from a different workbook. This special article will show you how to open an Excel workbook using the Workbooks.Open method in detail.
Open A Workbook from Current Workbook
Just imagine a situation where you are working with two already opened workbooks. The workbook you are working on is named “Book 1,” and another open but not active workbook is named “Book 2.”
Since we are working on “Book 1” to activate another workbook, “Book 2,” we need to specify the workbook name with its file extension using the WORKBOOKS object.
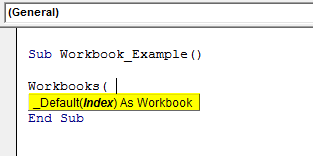
Inside this, we need to enter the workbook name and its extension.
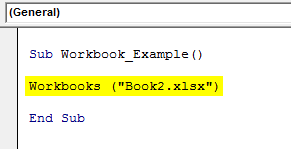
Then, we must insist on what we need to do with this workbook. Since we need to activate this workbook, select the “Activate” method.
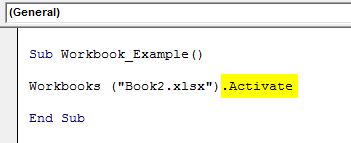
So, this code will activate the workbook “Book 2.xlsx” if it is open.
What if the workbook “Book 2.xlsx” is not open? How do you open it or activate it?
It is where our Workbooks.Open method comes into the picture.
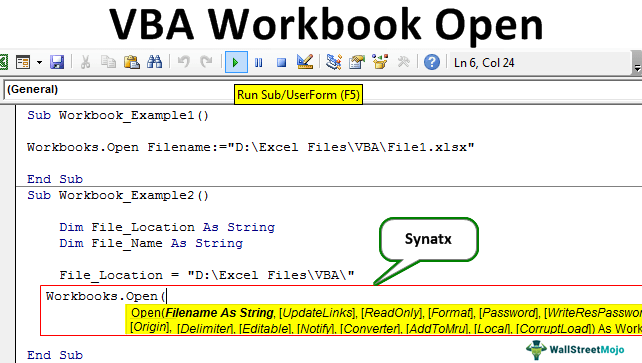
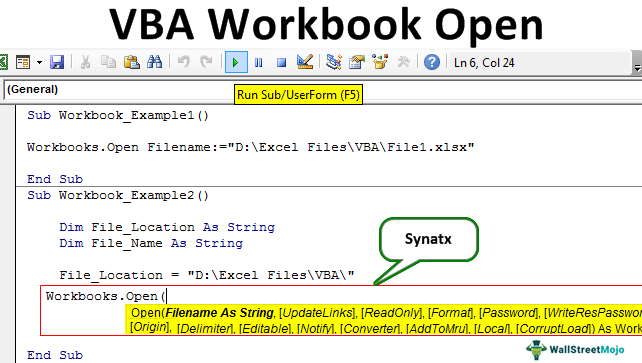
Syntax

- File Name: The first argument in this method is to specify the workbook name we are trying to open. Workbook name alone cannot do the job here because Excel doesn’t know in which folder your workbook is saved. So, we need to supply a full folder path followed by an exact file name with its saved extension.
- Update Links: When we try to open the workbook, it may contain some external links from other workbooks. We can supply yes or no here.
- Read Mode: How do you want to open the workbook? If you want only to read the file, then TRUE is the argument.
- Password: If the targeted or opening workbook contains any password, then in this argument, we need to specify the password used while protecting the workbook.
These four arguments are good enough in this method. Do not break your head to understand every argument because the need for those remaining arguments may never arise.
Examples
Example #1
Imagine opening the file named “File 1.xlsx” on your computer. The file gets saved in so many folders and subfolders. To open it through VBA coding, follow the below steps.
Step 1: Start the subprocedure.
Code:
Sub Workbook_Example1()
End Sub
Step 2: Inside the VBA subprocedure, start Workbooks.Open method.

Step 3: The first thing we need to mention is to file a name with its folder path and file extension.
For this, first, we need to open the exact file location.

Now, what you have to do is you need to copy the file path by using the folder path.

Step 4: Copy the link and paste it into the coding.
Code:
Sub Workbook_Example1()
Workbooks.Open Filename:="D:Excel FilesVBAFile1.xlsx"
End SubM
So, now we have copied and pasted the file path where it is stored. This mentioned file path may contain many files. So after this, enter the backward slash first and then enter the file name with a file extension.
Code:
Sub Workbook_Example1()
Workbooks.Open Filename:="D:Excel FilesVBAFile1.xlsx"
End Sub
Now, ignore all the other arguments.
Step 5: Run the code. It will open up the workbook named “File 1.xlsx.”
So, our code has just opened the mentioned workbook in the folder path.
Example #2
The best and most efficient way of using VBA coding involves using variables while coding. Because, as part of a large VBA project, we may need to open other files between the coding, using variables will play an important role in such a situation.
It can open the same file by using variables as well. For this, declare two variables as a String data type.
Code:
Sub Workbook_Example2()
Dim File_Location As String
Dim File_Name As String
End Sub
For the File_Location variable, assign the folder path where the file is stored.
Code:
Sub Workbook_Example2()
Dim File_Location As String
Dim File_Name As String
File_Location = "D:Excel FilesVBA"
End Sub
Note: One extra thing we need to do is after pasting the link, we need to put a backward slash.
Now for the File_Name variable, we need to mention the file name with its excel extension.
Code:
Sub Workbook_Example2()
Dim File_Location As String
Dim File_Name As String
File_Location = "D:Excel FilesVBA"
File_Name = "File1.xlsx"
End Sub
Now, these two variables combine to create a full folder path.
Now, open the Workbooks.Open method again in Excel VBA.

Supply two variable names with an ampersand (&) sign for the first argument.
Code:
Sub Workbook_Example2()
Dim File_Location As String
Dim File_Name As String
File_Location = "D:Excel FilesVBA"
File_Name = "File1.xlsx"
Workbooks.Open File_Location & File_Name
End Sub
So now, we can change the folder path and file name whenever we want to for just variables. So wherever we use variables, it will reflect the changes instantly.
Things to Remember
- Never enter the file location manually because 99% of the time, we make mistakes while typing the location, so copy from the location only.
- We must manually enter a backward slash () to separate the location and file.
- If a password protects the file, use the PASSWORD argument under Workbooks.Open method.
