Table Of Contents
Rename Sheet in Excel VBA
We all have renamed the worksheet as per our identity or convenience. Renaming is not rocket science to master, but if you are the VBA coder, you must know this task of renaming the worksheet. Since we work with worksheets using their names, it is important to know the importance of the worksheet names in VBA coding. This article will show how to rename the sheet using Excel VBA coding.
How to Rename a Sheet in VBA?
Changing the name of the worksheet does not need any special skills. We need to reference which sheet name we are changing by entering the existing sheet name.
For example, if we want to rename the sheet named "Sheet 1", then we need to call the sheet by its name using the Worksheet object.
Worksheets(“Sheet1”)
After mentioning the sheet name, we need to select the "Name" property to rename the worksheet name.
Worksheets(“Sheet1”).Name
Now, we need to set the Name property to the name as per our wish.
Worksheets(“Sheet1”).Name = “New Name”
Like this, we can rename the worksheet name in VBA using the Name property.
In the following sections of the article, we will show you more and more examples of changing or renaming the worksheet.
Examples of Rename Worksheets in Excel VBA
Below are examples of the VBA Rename Sheet.
Example #1 - Change or Rename sheet using VBA Variables.
Look at the below sample code.
Code:
Sub Rename_Example1()

  Dim Ws As Worksheet

  Set Ws = Worksheets("Sheet1")

  Ws.Name = "New Sheet"

End Sub
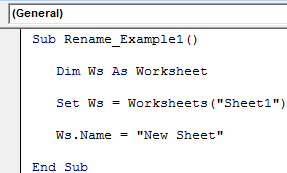
First, we have declared the variable as Worksheet in the above code.
Dim Ws As Worksheet
Next, we have set the reference to the variable as "Sheet1" using the Worksheets object.
Set Ws = Worksheets("Sheet1")Now, the variable "Ws" holds the reference of the worksheet "Sheet1."
Now, using the "Ws" variable, we have renamed the worksheet "New Sheet."
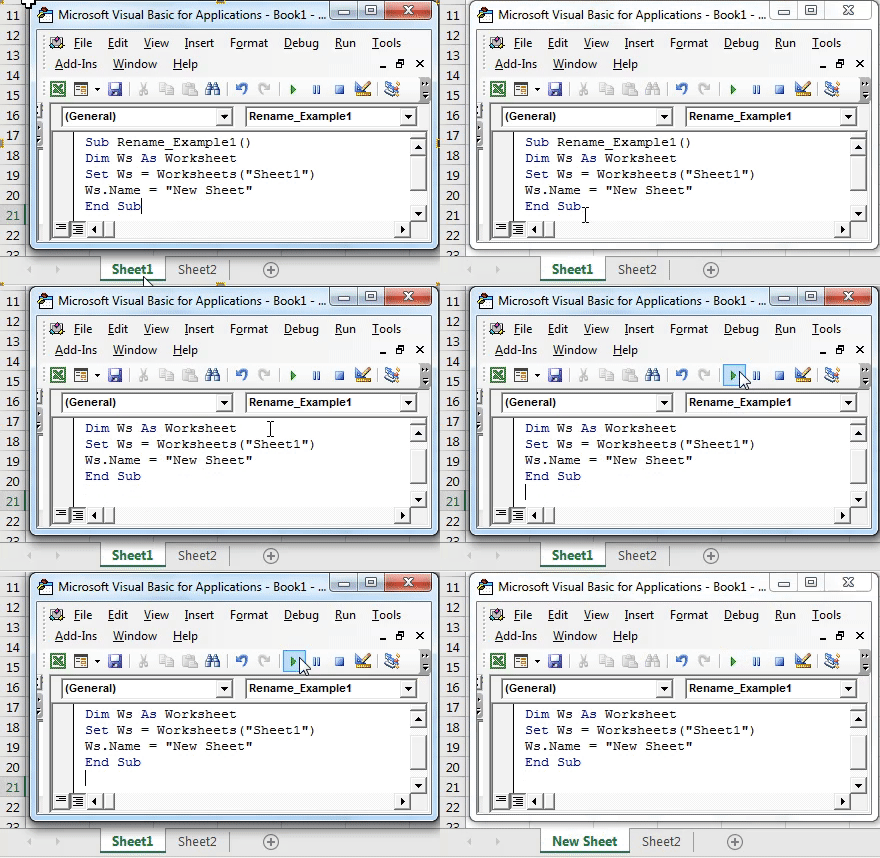
This code will change the "Sheet1" name to "New Sheet."
If we run the code manually or through the shortcut key F5, we will again get a Subscript Out of Range error.
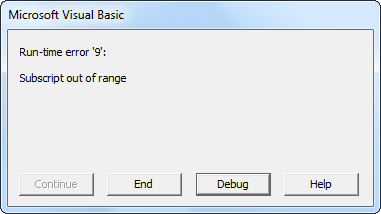
We get this error because, in the previous step itself, we have already changed the worksheet named "Sheet1" to "New Sheet." Since there is no longer a worksheet name, "Sheet1" is unavailable. VBA throws this error.
Example #2 - Get all the Worksheet Names in a Single Sheet.
We can get all the worksheet names of the workbook in a single sheet. For example, the below code will extract all the worksheet names.
Code:
Sub Renmae_Example2()

  Dim Ws As Worksheet
  Dim LR As Long

  For Each Ws In ActiveWorkbook.Worksheets
   LR = Worksheets("Main Sheet").Cells(Rows.Count, 1).End(xlUp).Row + 1
   Cells(LR, 1).Select
   ActiveCell.Value = Ws.Name
  Next Ws

End Sub
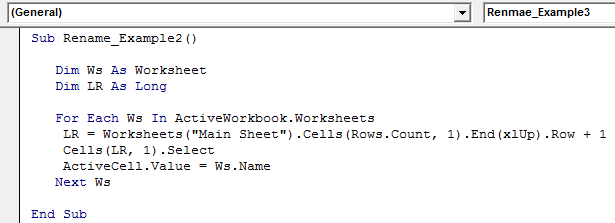
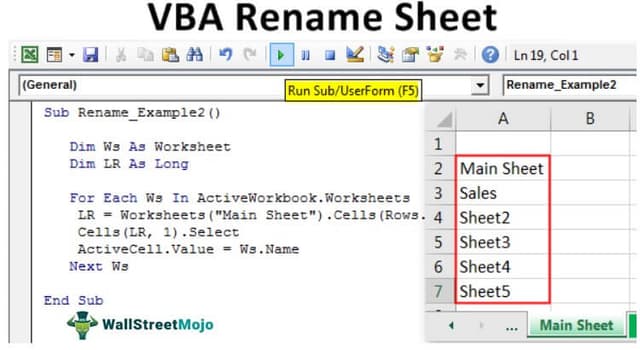
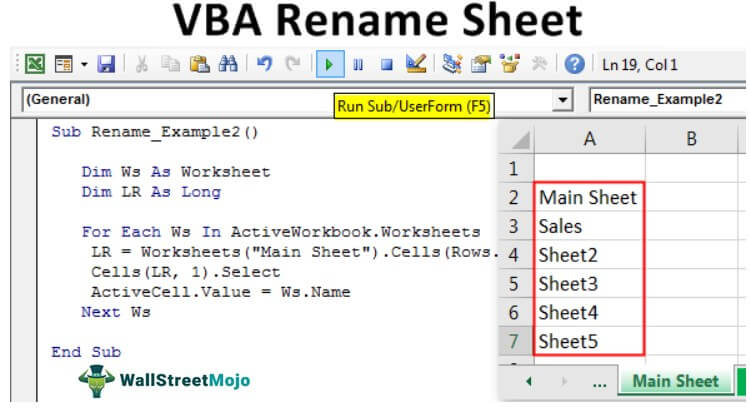
This code will extract all the available worksheet names to the "Main Sheet" sheet.
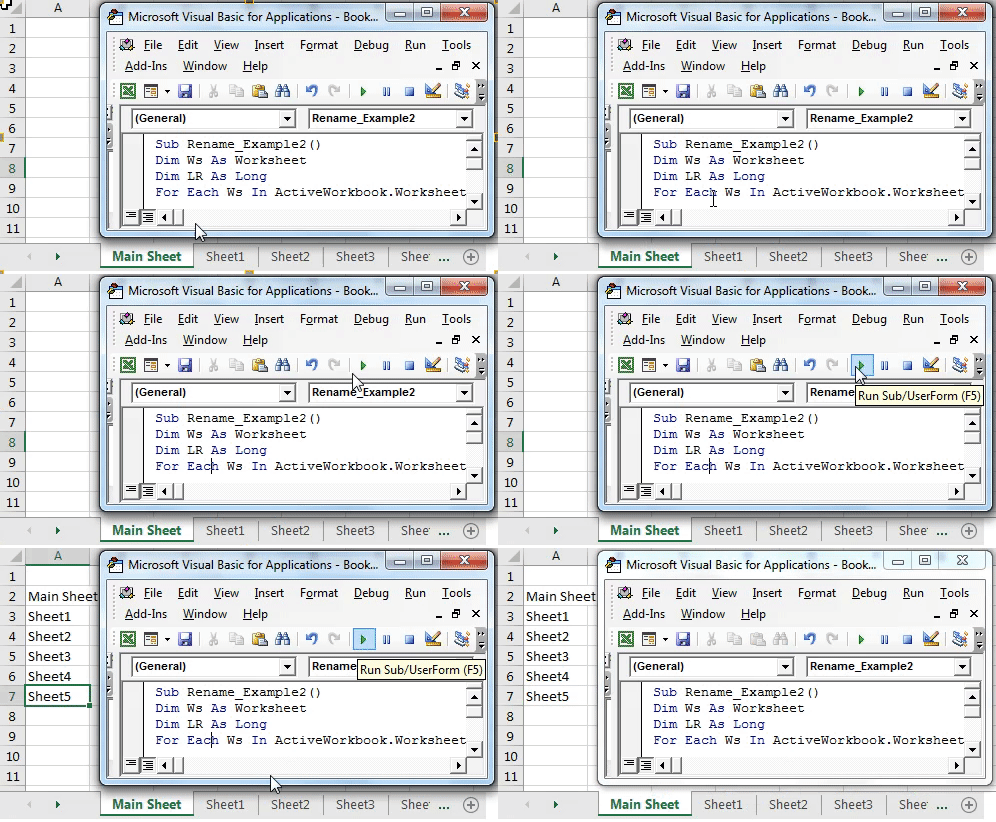
Example #3 - Set Permanent Name to the Excel Worksheet Using VBA
Since we work with sheet names in coding, it is important to set permanent names for them. So, how do we set permanent names for them?
For example, look at the below code.
Code:
Sub Rename_Example3()

    Worksheets("Sheet1").Select

End Sub
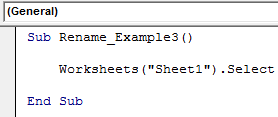
The above code will select Sheet1.
If many people use your workbook, we will get the "Subscript out of range" error if someone changes the worksheet's name.
To avoid this, we can set the permanent name to it. To set the permanent name, follow the below steps.
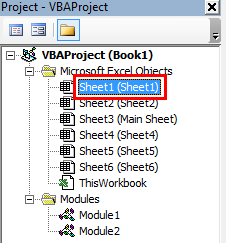
Step 1: Select the sheet we need to set the permanent name in Visual Basic Editor.
Step 2: Press the F4 key to see the Properties window.
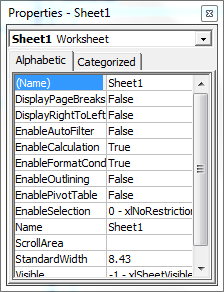
Step 3: Under Name, Property Change the name to “New Name.”
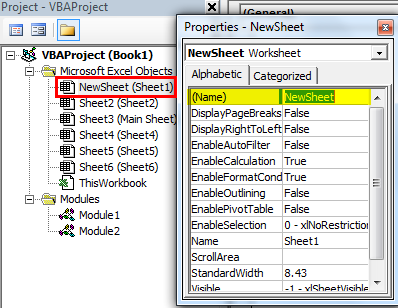
As you can see, one name is shown as "Sheet1." In a bracket, we can see the new name as "New Sheet."
Now in coding, we will use the new name instead of an actual visible name.
Code:
Sub Rename_Example3()

    NewSheet.Select

End Sub
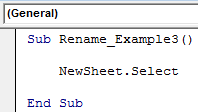
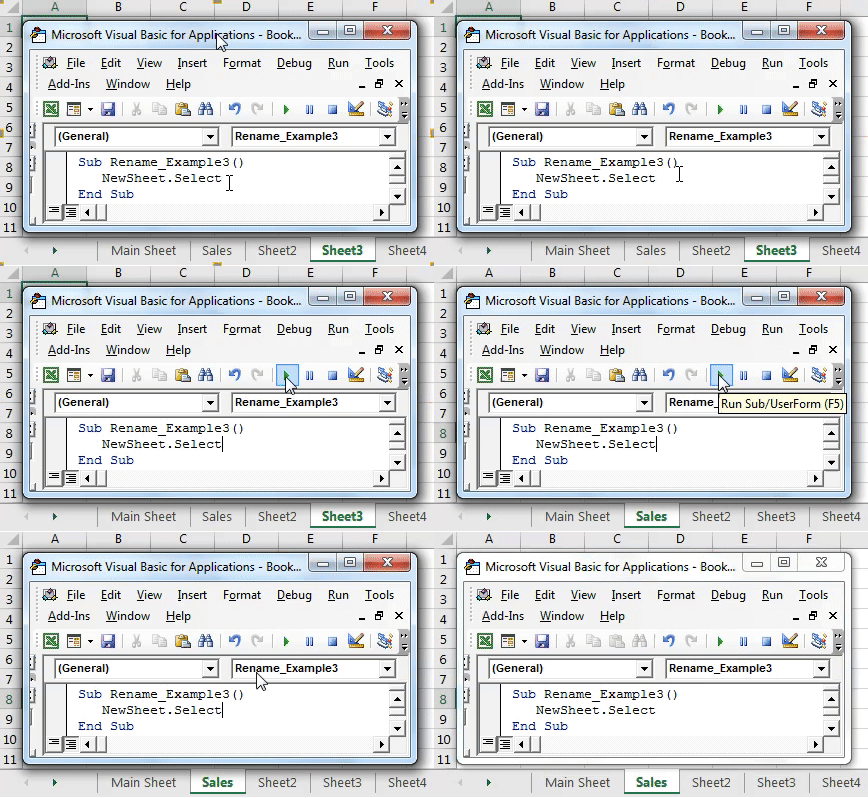
Now, come back to the worksheet window. We can still see the sheet name as "Sheet1" only.

Now, we will change the sheet name to "Sales."

If we run the code using the F5 key or manually, it will still select the sheet named "Sales" only. Since we had given a permanent name to it, it will still select the same sheet only.
