Table Of Contents
Excel VBA Copy Worksheet
Sometimes we may need to copy a specific range of cells from one worksheet to another or in the same worksheet. In some cases, we may need to copy the entire worksheet to a new worksheet. You may be familiar with copying a range of cells, but how about copying the whole worksheet using VBA? In this article, we will give you a detailed explanation of how to copy the worksheet to another workbook in VBA.
Worksheet.Copy Method in VBA
First, take a look at the syntax of the Worksheet.Copy method.
Worksheet(<Sheet Name>).Copy (Before, After)
The copy method has two arguments: Before and After. Both these are optional.
- Before: The targeted worksheet we are copying. If you specify this, you cannot use the After argument.
- After: The targeted worksheet we are copying. If you specify this, you cannot use the Before argument.
Since both are optional arguments, if you leave it blank, it will copy the targeted worksheet to a new workbook. Microsoft Excel automatically creates a new workbook.
We will see examples of the same now in the examples section.
Examples of Copy Worksheet in VBA
Example #1
Look at the below data in the worksheet named “January”.
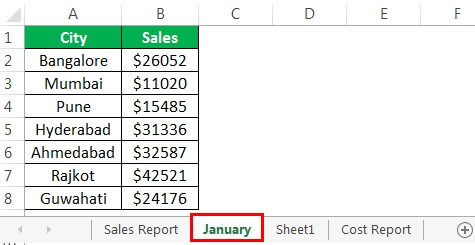
We have the above data in the worksheet named "January."
- So, we need to copy the above worksheet after the worksheet named "Sheet1". But, first, refer to the worksheet by using the worksheets object.
Code:
Sub Worksheet_Copy_Example1()

Worksheets("January")

End Sub
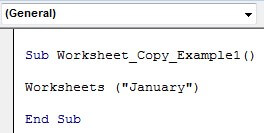
- Next, enter the “Copy” method.
Code:
Sub Worksheet_Copy_Example1()

Worksheets("January").copy

End Sub
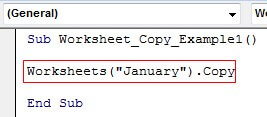
- As you can see above, when we start typing, we do not get to see the IntelliSense list for the worksheets object. It is one of the significant problems for beginners if they directly use the WORKSHEETS object. But this can be eliminated by using variables, so define the variable as "Worksheet."
Code:
Sub Worksheet_Copy_Example1()

Dim Ws as Worksheet

End Sub
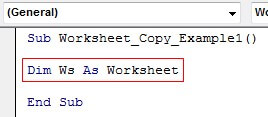
- For this variable, set the reference of the worksheet "January."
Code:
Sub Worksheet_Copy_Example1()

Dim Ws as Worksheet

Set Ws = Worksheets("January")

End Sub
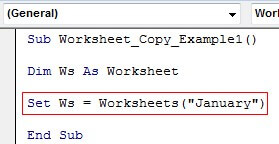
- So, now using the variable "Ws," we can easily refer to the worksheet named "January." So enter the variable name "Ws" and choose the "Copy" method.
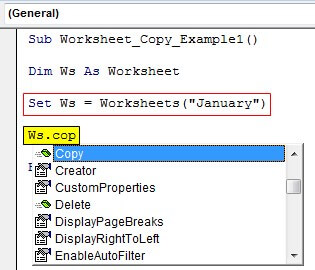
There we go. Thanks to the variable declaration, we can see the IntelliSense list showing all the properties and methods of worksheet objects.
- Choose the "Copy" method, and we can see arguments of the "Copy" method.
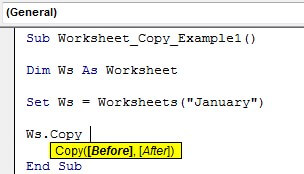
- First, access the "After" argument by entering the argument name like the below since we need to copy the worksheet after the worksheet "Sheet1."
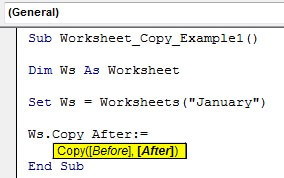
After argument highlights since we have used the argument name with the "equal by definition" symbol (:=)
- Now, enter the sheet name by using the "Sheets" object.
Code:
Sub Worksheet_Copy_Example1()

Dim Ws As Worksheet

Set Ws = Worksheets("January")

Ws.Copy After:= Sheets("Sheet1")

End Sub
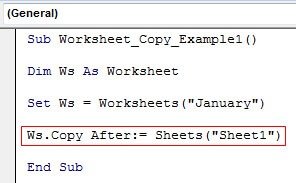
- Now, we have completed. It will copy the worksheet "January" after the worksheet "Sheet1."

There you go. We have copied the January worksheet to the right of "Sheet1". One of the default things here is that the worksheet's name is the same as the copied sheet with a numerical count of the worksheet in the bracket. In this case, it is "(2)."
- To change the worksheet name, add the below piece of code to the above code.
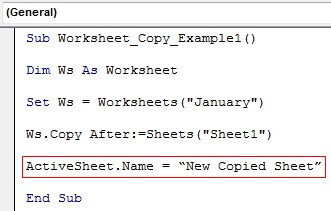
- So, the overall code is below.
Code:
Sub Worksheet_Copy_Example1()

Dim Ws As Worksheet

Set Ws = Worksheets("January")

Ws.Copy After:=Sheets("Sheet1")

ActiveSheet.Name = “New Copied Sheet”

End Sub
- Now, run the code and see what happens.

Example #2
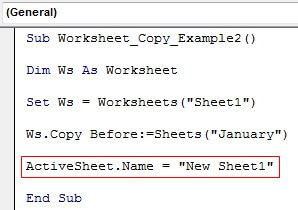
Similarly, if you want to copy the worksheet "Sheet1" before the worksheet "January," use the below code.
Code:
Sub Worksheet_Copy_Example2()

Dim Ws As Worksheet

Set Ws = Worksheets("Sheet1")

Ws.Copy Before:=Sheets("January")

ActiveSheet.Name = "New Sheet1"

End Sub
- So, this will create a sheet like the one below.

Example #3
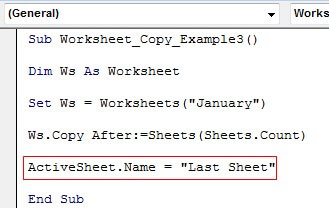
Similarly, if you want to copy the worksheet after the last one, use the code below.
Code:
Sub Worksheet_Copy_Example3()

Dim Ws As Worksheet

Set Ws = Worksheets("January")

Ws.Copy After:=Sheets(Sheets.Count)

ActiveSheet.Name = "Last Sheet"

End Sub
Output:

The only change we made is using the "Sheets. Count" method to count how many sheets are in the workbook.
Example #4
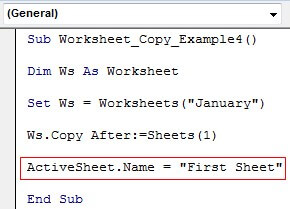
Similarly, if you want to copy the worksheet before the first one, use the code below.
Code:
Sub Worksheet_Copy_Example4()

Dim Ws As Worksheet

Set Ws = Worksheets("January")

Ws.Copy After:=Sheets(1)

ActiveSheet.Name = "First Sheet"

End Sub
Output:

In this case, we have used "Sheets(1)" to place the copied worksheet before the workbook's first worksheet.
Things to Remember
- Suppose we do not use the worksheet's Before and After argument. It will copy the Copy worksheets to the new workbook altogether.
- The default copied worksheet name will be the same, followed by the count of that copied worksheet.
