Table Of Contents
Excel VBA Chdir
"ChDir" can be termed as "Change Directory." By using "ChDir," we can change the current default directory used in VBA when searching for the files without a fully qualified path. For example, when we try to save the file as a new file by default, we can see the system configured drive opens up. From there on, we can select the folder we wish to save.
Have you ever thought we could change that default folder picker window to our wish? Yes, we can do this!
Now, let us look at the syntax of the ChDir function in VBA.

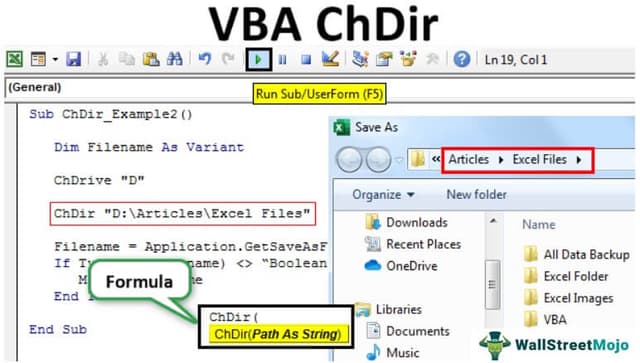
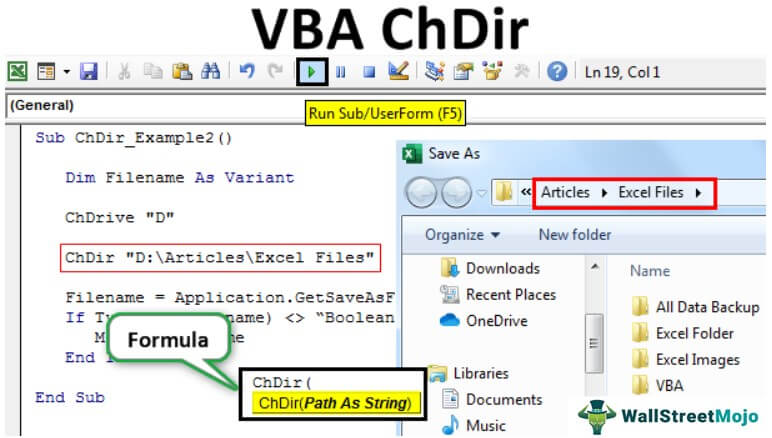
Path: This is where we need to mention the folder path we wish to open by default when we try to open or save the file to a different name.
We should mention the path in double quotes.
Examples of ChDir Function in VBA
Below are the examples of Excel VBA ChDir.
Example #1
Now take a look at the below VBA code first.
Code:
Sub ChDir_Example1()

    Dim FD As FileDialog
    Dim ND As String

    Set FD = Application.FileDialog(msoFileDialogFilePicker)

With FD
     .Title = "Choose Your File"
     .AllowMultiSelect = False
     .Show
   End With

End Sub
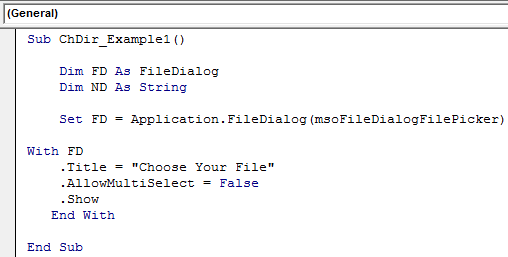
When we run this code using the F5 key or manually, it will first open up the below default window.
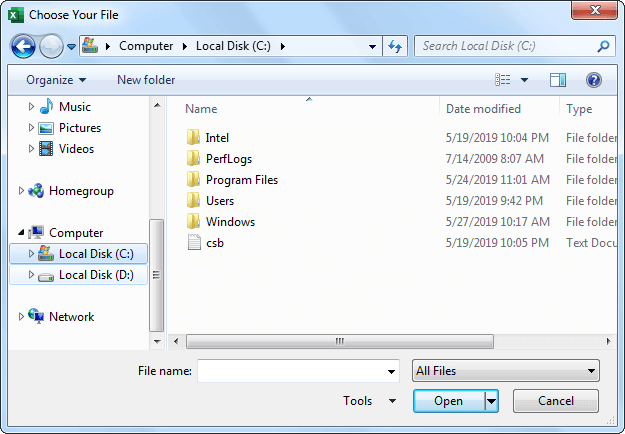
When we run this code using the F5 key or manually, it will first open up the below default window.
From here on, we have to go through various folders and Sub Folders to select the files we wish to open using VBA code.
It will take a lot of time! Furthermore, going through various folders may also lead to the wrong file selection due to various Sub Folders, which adds more confusion.
What if our code can open the specific folder where our file is required to choose?
Isn’t it a cool option to have?
Yes, let’s try this out.Before passing on our code, we need to use the function ChDir and mention the folder path in double quotes.
ChDir "D:ArticlesExcel Files"
The above code, by default, will change the directory to be opened to the "D" drive and under the D drive "Articles" folder, and under this folder, the Sub Folder to be opened is "Excel Files."
Code:
Sub ChDir_Example2()

    Dim Filename As Variant

    ChDir "D:ArticlesExcel Files"

    Filename = Application.GetSaveAsFilename()
    If TypeName(Filename) <> “Boolean” Then
       MsgBox Filename
    End If

End Sub
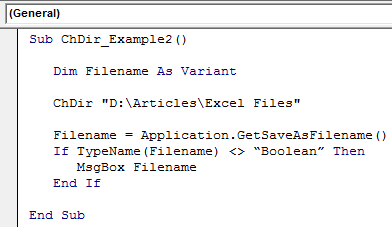
Now, we will run the code manually or by pressing the F5 key and see what file directory opens up.
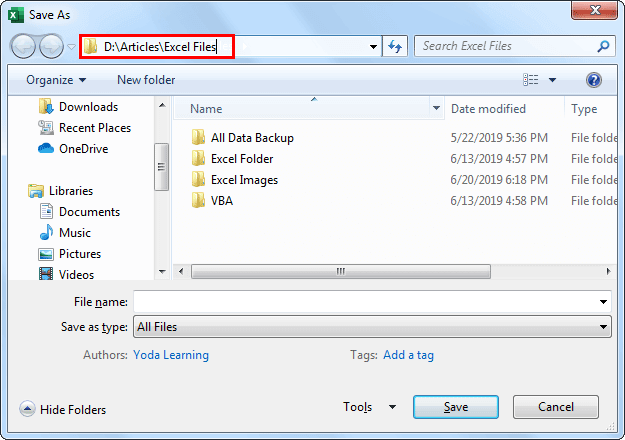
As shown in the above picture, we got the default window per our specification.
If your ChDir function is not showing the mentioned file directory, you need to change the drive and apply the ChDir function.
We need to use the ChDir function to change the drive. Since we want to open the file in the "D" drive first, we need to change the drive to "D."
ChDrive “D”
The above code will change the drive to “D”
Code:
Sub ChDir_Example2()

    Dim Filename As Variant

    ChDrive "D"

    ChDir "D:ArticlesExcel Files"

    Filename = Application.GetSaveAsFilename()
    If TypeName(Filename) <> “Boolean” Then
       MsgBox Filename
    End If

End Sub
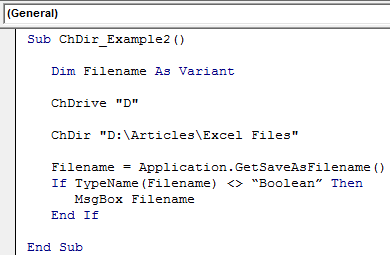
Like this, by using the VBA ChDir function, we can change the default file directory to our wish.
