Table Of Contents
Themes For Excel
Themes available in Excel are used in formatting the entire document or workbook. We can use the themes provided by Excel or customize them according to our choice. Themes are available in Excel in the "Page Layout" tab with the name of the "Themes" option. In addition, there are different options for colors and effects fonts.
Where are the Themes Stored in Excel?
The first question is, where are these themes hidden in Excel? The truth is that it is not hidden in Excel. Rather, it is visible just before us, but we have not recognized it for long.
Themes are available under "Page Layout" in Excel. So, for example, under "Themes," we have themes, colors, fonts, and effects.

Excel 2013 has as many as 31 built-in themes, 23 colors, and 15 different built-in effects.
Examples
Example #1 - Change Default Theme
Now, we will see the practical example of themes.
- But, first, we have created a basic default chart of sales for many years and one of the shapes.

- These are the themes of the default theme of the office. To change the theme of these two: charts and shapes, go to "Page Layout." The above available themes will preview the result before clicking on it.

- In the above image, we selected the theme type "Facet." Like this, we can choose any of the above themes, look at the preview, and finalize the theme.

Example #2 - Change the Row Header & Column Header View
You must be familiar with the default row header and column header, which Microsoft gives, like the one below.
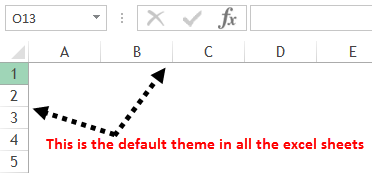
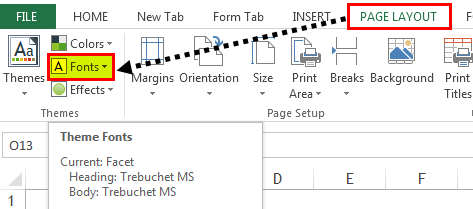
Step 1: Go to "Page Layout" and select "Fonts.".
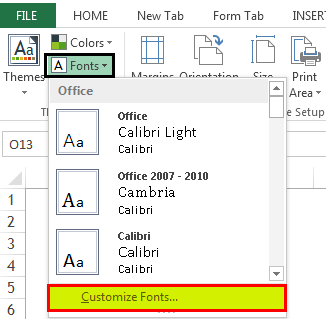
Step 2: Click on the dropdown and select "Customize Fonts."
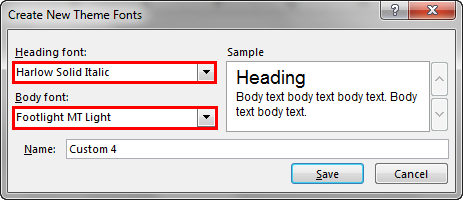
Step 3: Now, you will see below the new dialog box.
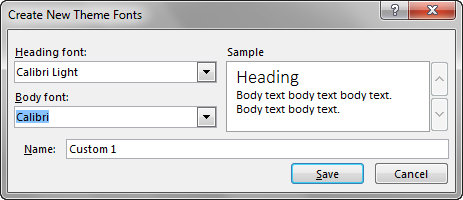
Step 4: Change the "Heading font" to "Harlow Solid Italic and the "Body font" to "Footlight MT Light." Now, on the right-hand side, you can see the preview.
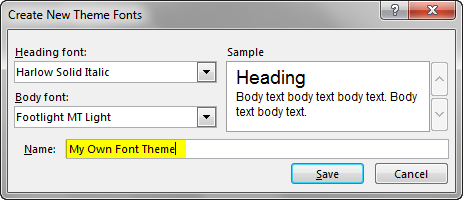
Step 5: You can name this font theme.
Now, look how row and column headers fonts have changed.
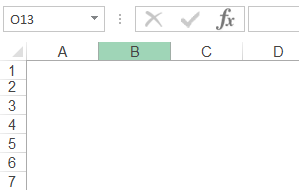
It is slightly different from the default theme.
Example #3 - Create Your Own Theme Under Custom Theme
If you are not satisfied with the available wide variety of themes from Microsoft, you can create your theme and apply it to make a difference.
Usually, the theme is the makeup of three elements: colors, fonts, and effects. To design your theme, follow the below steps.
Step 1: Go to "Page Layout" and select "Colors."
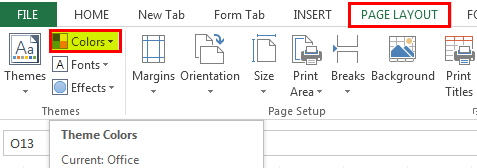
Step 2: Click on the colors drop-down list in excel and select "Customize Colors."
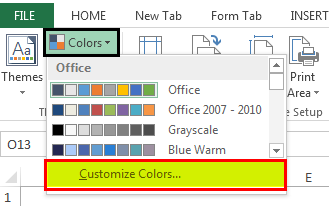
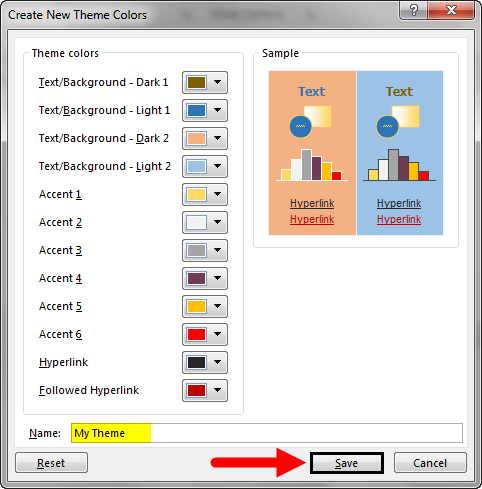
Step 3: Apply the colors below (you can give your colors), name your theme, and click on "Save."
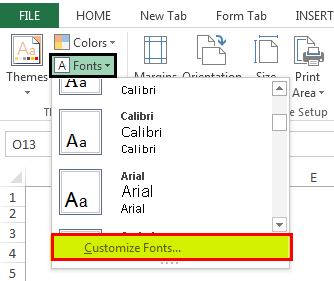
Step 4: Now, click on "Fonts" and select "Customize Fonts."
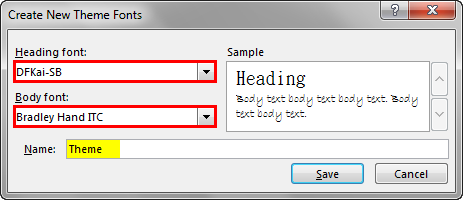
Step 5: Select the fonts as per your wish.
Note: We cannot change the font size. It will be, by default, 11 sizes.
Step 6: Click on "Effects" and select any one of the existing effects. We cannot customize this. We have chosen one of the current effects.
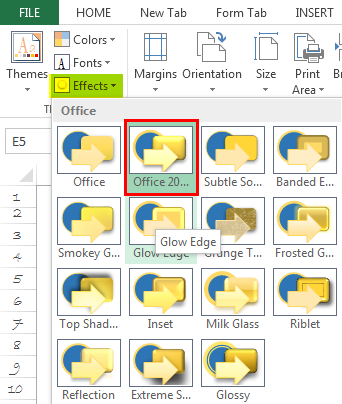
Now, we have created all theme options.
Step 7: Click on the "Theme" dropdown and select "Save Current Theme."
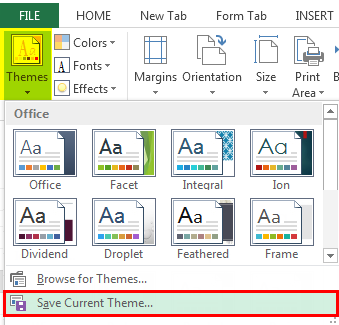
Step 8: Now, we will see a different save window. Please give them a name and select the "Save type" as ".thmx."

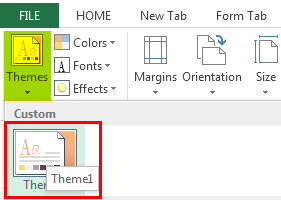
Now, we have created our theme. When the Excel workbook opens, we can see this theme under Page Layout > Theme > Custom.
Things to Remember
- It will not be available if we share the file with a custom theme with the colleague theme. But theme color and font styles will be applicable.
- The theme applies to Excel charts, tables, shapes, slicers, and pivot tables.
- We must use very light colors in the custom themes.
Recommended Articles
This article is a guide to Themes in Excel. Here, we discuss applying different themes in Excel with examples and downloadable Excel templates. You may learn more about Excel from the following articles: -
