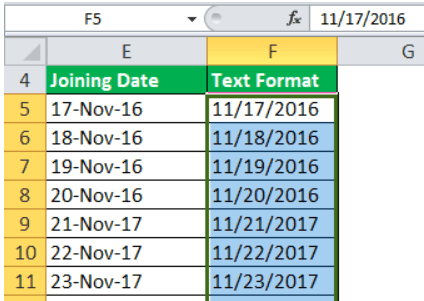
Table Of Contents
How to Convert Date to Text in Excel?
The conversion of the date to text is very easy and simple. There are four simple ways to convert dates to text in Excel:
- Using the TEXT function (most commonly used)
- Using the TEXT to COLUMN option
- Using the copy-paste method
- Using VBA
Use of Date to Text in Worksheet
Excel Text function is commonly used to convert a numeric value to a text string and display it in the format you specify so we can use it to convert date to text in Excel format.
Date to Text Function in Excel
The TEXT formula in excel is as follows:

- Value: It is a numeric value you want to convert to text. It can be a number, a formula that returns a numeric value, or a reference to a cell containing a number.
- format_text: This is how you want to format the resulting text value, provided as a text string enclosed in quotation marks.
Using the TEXT function to convert dates to text in Excel requires a basic understanding of the formats we can use.
In the case of dates, there are four parts to the format:
- day format
- month format
- year format
- separator
#1 Using Text Function
Example #1
Apply the formula =A4&”‘s joining date is “&TEXT(B4,”dd-mm-yyyy”)
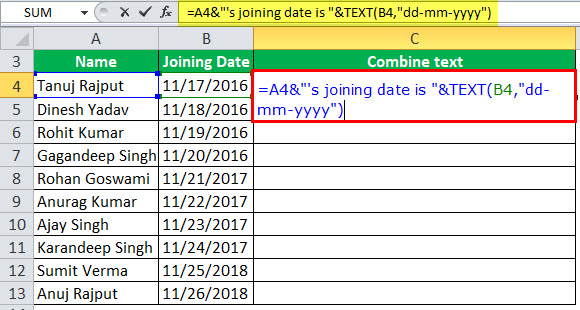
To get the below output.
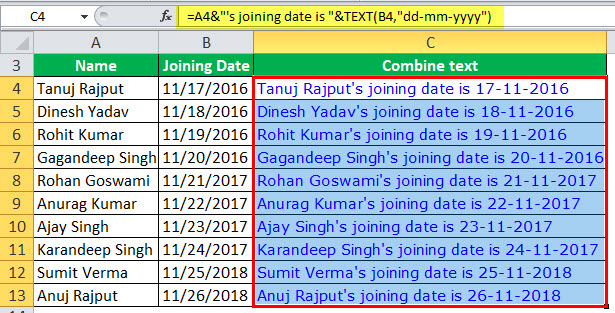
Example #2
You can also convert the current date to text by the below formula:
="Today is "&TEXT(TODAY(),"dd/mm/yyyy")

To get the below output.

#2 Using Text to Column
Suppose we have a dataset, as shown below, and we want to convert these dates into text format:
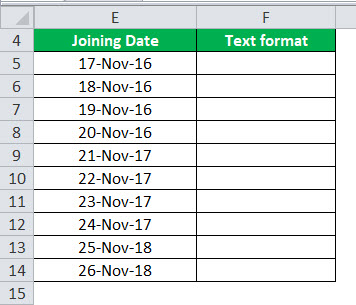
Below are the steps to convert the date into text:
- First, we must select the data and go to "Data," then "Data Tools," and Text to Column in Excel.

- Press "Next" and uncheck all "Delimiters."

- Then, we must select the location and click on the "Finish," as shown below.

The output will be as follows:
#3 Using Copy Paste Method
Consider the data set of the joining date.
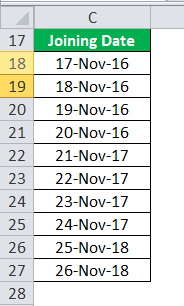
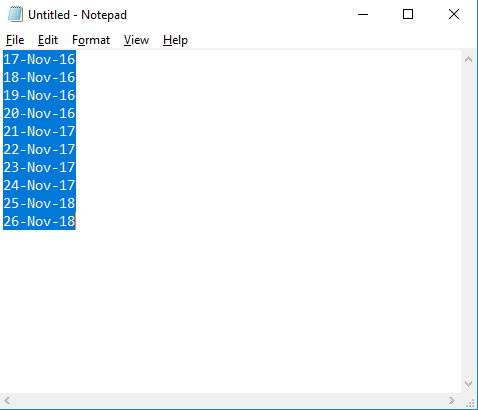
- First, copy the data. Then, open a notepad and paste it there. As soon as you paste the dates into the notepad, it automatically gets converted into text.
- Now switch back to Excel and select the cells where you want to paste these dates.
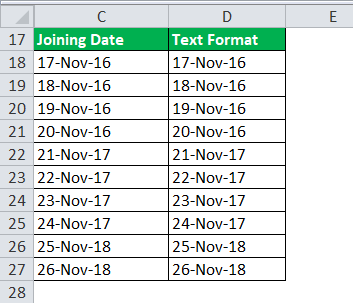
- Then, we must go to "Home" then "Number" with the cells selected and select the "Text" format (from the drop-down).
- Finally, paste the date as text.
#4 Using VBA
Suppose we have the text in sheet1 and the H2 cell, then apply the date to the text using the below VBA code.
Sub Datetotexts ()
Dim c As Range
For Each c In Selection
c.Value = Format(c.Value, "dd.mm.yyyy")
Next c
End Sub
Things to Remember
- It must be left-aligned by default.
- If several text dates are selected, the Status Bar only shows "Count."
- There may be a leading apostrophe visible in the formula bar.
